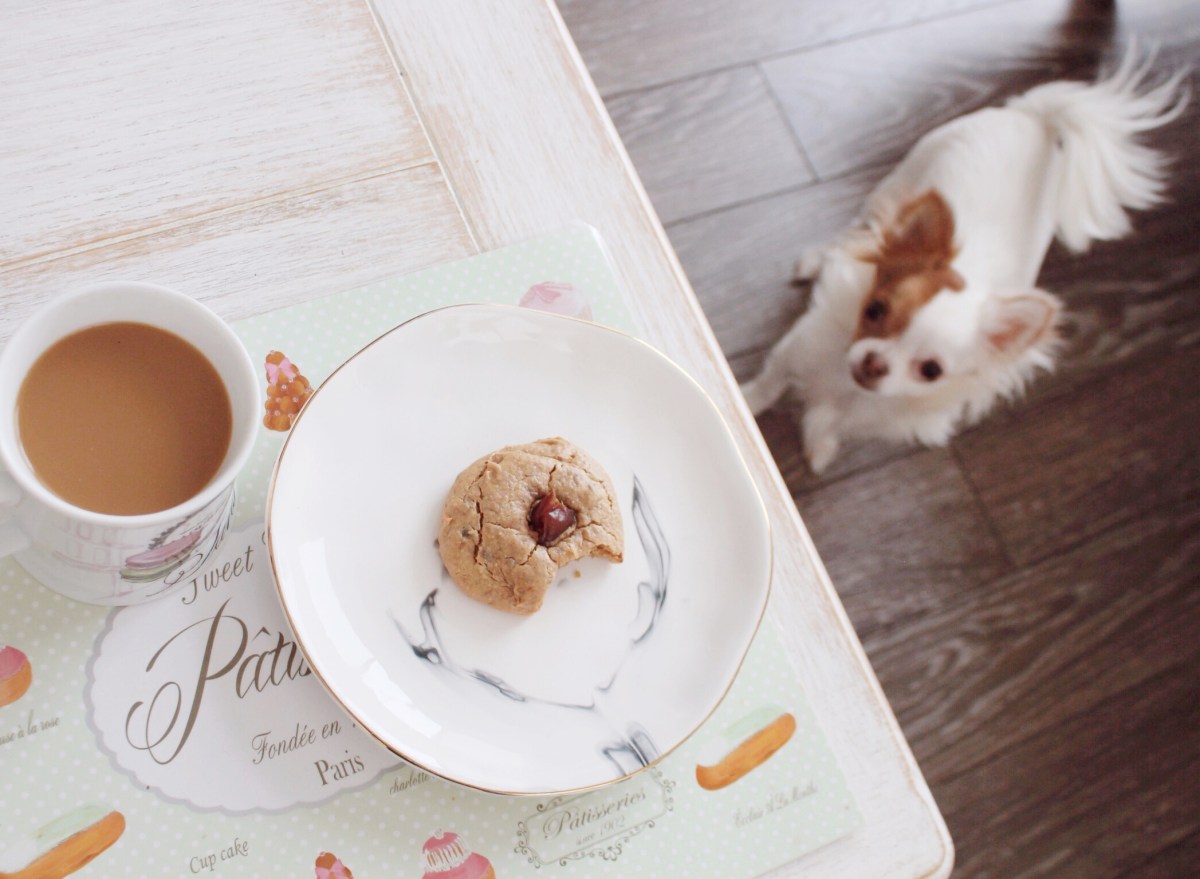
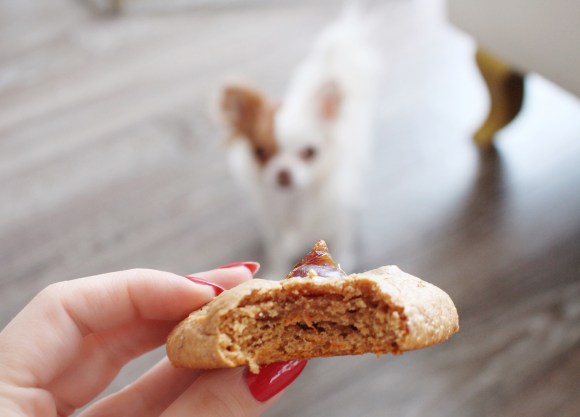
Yes, you read that title right! These cookies are free of refined sugars and carbohydrates (and also butter)! This is quite different from the usual recipes that I share with you all because this is actually healthy! lol… No, seriously though, they say necessity is the mother of all invention and this recipe was created out of pure necessity! I went on a refined sugar and carb “cleanse” if you will, and I cut out all processed sugars and carbohydrates from my diet for 10 days. It was a bit of a detox since I could and often do literally live off of carbs and sugar. Well, it was about 2 days into this cleanse and I was craving something sweet. Just eating fruits, and peanut butter out of the jar was simply not cutting it for me. I decided to create these cookies because I have a huge sweet tooth and I absolutely love having something soft, and sweet as my breakfast -these cookies are it! They are incredibly soft, and just sweet enough thanks to the natural sweeteners that I add (honey and dates). You can of course substitute the honey for any sweetener of your choice, but why I love this recipe so much is because they are easy to whip up, and you can even feed these to your dog! Yes, these are human and dog friendly, and Luna is crazy about these cookies. So without further ado here is the recipe, and I will even share some optional substitutions for you and your dog, just in case you want to mix it up a bit (and I often have). Here is the VIDEO RECIPE as well 🙂
Ingredients:
– 3/4 Cup NATURAL Peanut Butter (215g approx)
– 1 Egg
– 2 Tbsp NATURAL Honey
– 2 Tbsp Almond Milk (Unsweetened)
– 1 Tsp Baking Powder
– 1/4 Tsp Cinnamon (Optional)
– 4 Dates (or more) Chopped *See Notes
*Optional add-in ingredients not for your dog:
– 1 Tbsp Vanilla Extract
– 1 to 1 & 1/2 Tbsp Cocoa Powder (depending on how chocolatey you want your cookies!
– 1/4 Cup Chocolate Chips (or more)!
– Extra Dates (On Top, or Mixed In)

Notes:
Before I share the instructions I just wanted to talk about the ingredients as it is important to clarify a few things. First, the natural peanut butter is a must as the regular peanut butter is full of added sugars, oils, and preservatives. Be sure the Ingredients on the jar simply state peanuts, and that is all. These are essentially peanut butter cookies, but they are more complex with the addition of dates, and cinnamon, making them truly unique! Next, the honey should also be 100% raw and natural honey as that is the best true kind of honey that has not been boiled down to essentially be stripped of it’s nutrients. I used creamed honey, but you can even use liquid, as long as it is raw, organic honey. Next, the almond milk can be substituted simply for milk, or even water. The quantity is just enough to make a soft and fluffy cookie, but if you prefer a more dense cookie, you could even omit the liquid in this recipe. I just found myself to be craving something soft during this “detox” and so the additional liquids helped. Next, I chop up about 4 dates, and then cut the 4th into 6 pieces to top the cookies with in the end. You could put more, I sometimes add 1/2 a date on the top and even put more inside depending on my mood. The dates make these cookies delicious and add a nice natural sweetness. I used medjool pitted dates. Lastly, the vanilla extract is optional (as is the cinnamon), however I find it adds a nice taste to these cookies. They are even good without them, but I prefer the taste with the vanilla. Unlike all of the ingredients in this recipe that are safe for your dog to eat (including the tiny bit of cinnamon), and some even beneficial (such as the dates), vanilla extract is not necessarily the best for your dog. It is not toxic in such a small quantity, but just to be safe, I scoop out a table spoon or so of the batter and set that aside before I add the vanilla extract. The bit that I scooped out without the vanilla extract will be for my dog. If you are not baking these for a dog, you could just keep that in with the other ingredients. If these cookies are ONLY for a dog, or you simply do not have the vanilla extract, you can completely leave it out. I should also say that all of these ingredients are good for your dog and safe to eat, however you should always check with your vet first to be sure that your dog does not have any allergies to these ingredients. Even the honey is good in small quantities for a dog (I often give a tiny bit of honey to my dog Luna if she ever hurts herself). All in all, 2 tbsp divided by about 7 cookies is less than 1 tsp of honey per cookie! They are very low in natural sugars and of course refined sugar free – great for both us and our little paw-mates. These should not be used as a meal substitute for your dog, but rather as an occasional treat. I will break off a few pieces of the cookie for Luna to eat – 1 cookie can last her 2 to even 3 days, as it is just a snack and not a meal (and she is so tiny)!
Now here are the instructions for this recipe…
Instructions:
350 for 10-12 mins
– Preheat your oven to 350 Degrees F (as these cookies take only a few minutes to whip up, you will want your oven ready).
– In a medium bowl (or stand mixer if you are using one), add all of the ingredients (except the vanilla extract or optional non-dog friendly ingredients). Yes, just pour them all in (these cookies are hard to mess up)!
– Give these ingredients a good mix to combine. Your mixture should look creamy.
– Set aside a tablespoon or so of the batter for your dog, and then add the vanilla extract (or other non dog friendly ingredients) to the batter that you will be eating. Give another mix to combine – I use a hand-held electric mixer, so this comes along quite quickly.
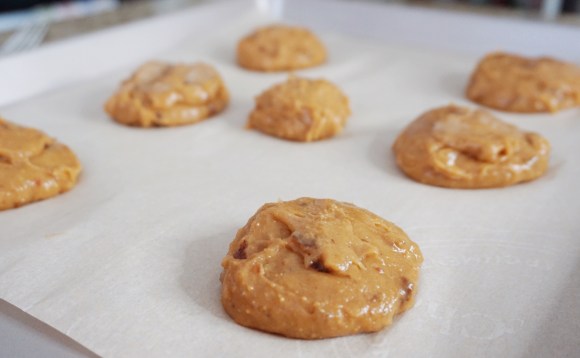
– This batter will be sticky, so use an ice-cream scoop or spoon to scoop out, and use another spoon or spatula to pat down. These are essentially scoop and drop cookies, so you will scoop out a cookie sized amount and place them onto a baking pan lined with parchment paper.
 – Once you have all of your cookies onto the pan, you can wet your fingers and pat down the tops a bit to form or shape them to your liking. I like to press these down a bit, as I don’t want huge mounds of dough. You want these to be round and slightly flat on top. You should have about 6 cookies and 1 for your dog, making 7.
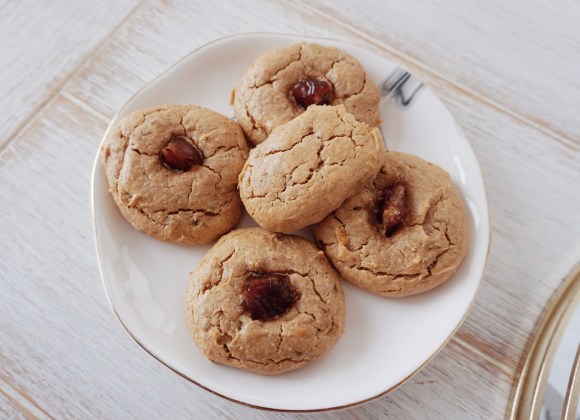
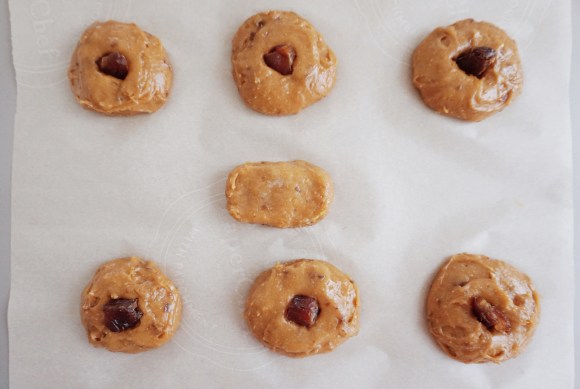
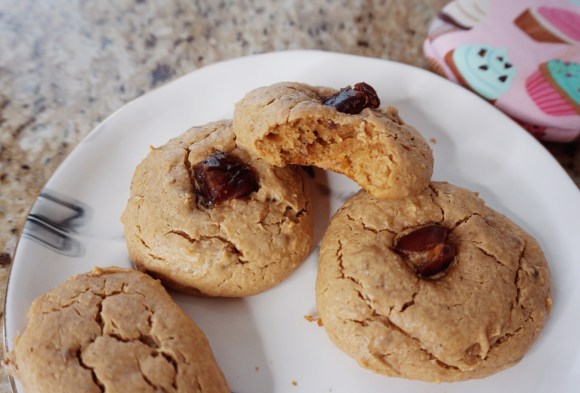
– Next, take 1 date and cut it into 6 pieces, then place each slice onto the cookie that you will be eating. Or optionally you can cut a few dates in 1/2 for the topping. Leave your dogs cookie plain so that you can tell the difference once baked. This also makes your cookies look pretty and extra tasty! *If you omit the dates you should shape your dog cookie differently so you can tell it apart.
– These cookies don’t spread too much, but they do puff up nicely, so leave a bit of space in between while baking.
-Bake for 10 to 12 minutes at 350 F, I find 11 minutes to be perfect.
– Let them cool enough to transfer over to a wire rack and then cool completely before giving to your dog.

Ta-Da – Cookies for you and your fur-baby!
As you can see, there are a lot of options in terms of substitutions for ingredients. You can even omit certain ingredients all together, or play around and add things such as nuts, seeds, etc… The list goes on and on! Just be sure your dog has no allergies to any ingredients mentioned – always check with your vet first! Based on past experience I know Luna LOVES peanut butter, so these were a hit with her! If you are not making these for your dogs, you could add sugar free chocolate chips, or even cocoa powder for a chocolate cookie. I made these once with 1 or 2 tbsp of cocoa powder and they were delicious (but not doggy safe). If you are not making these for your dog, and you are keto, you could even replace the honey with a keto safe sweetener (just maybe double the amount of sugar called for).
I hope you enjoyed this delicious, easy, and healthy recipe. If you would like to see how I made these cookies I have a video HERE! Like I said, I’ve made these in a few different ways now, with a few substitutions, but this recipe that I have shared with you is by far my favourite, and the most satisfying. I know I will be making these as a healthy breakfast even while I am not doing this sugar and carb “cleanse” as they are SO soft and delicious, perfectly gluten & guilt free. They really fulfill my cravings, and feel truly guilt-free! I love that I can eat a homemade cookie and feel good about it! I also love that I can give my dog a delicious homemade treat that is free of preservatives and strange ingredients. I hope you enjoy this recipe, as Luna and I can’t get enough of these (in 10 days, I’ve made these 5 times… not even kidding)! My sister even requested I always have some handy for our breakfasts or post-lunch sweet-tooth cravings!
Thanks for reading and watching that VIDEO! xo
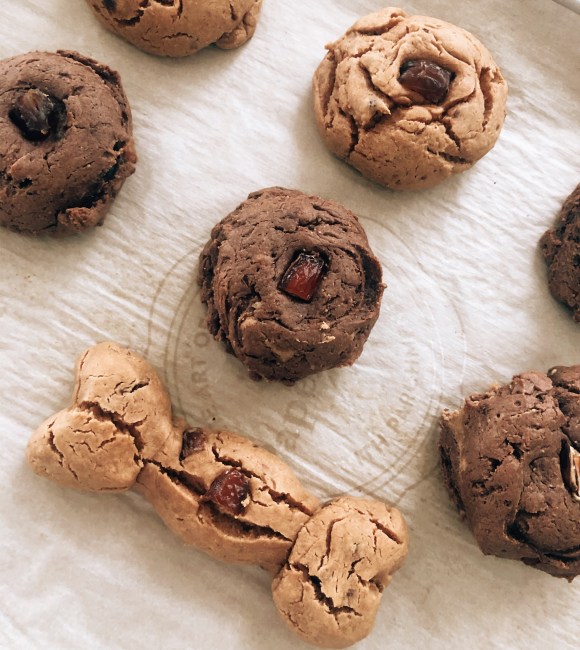
Update: If you would like to turn these cookies into a chocolate cookie (for you – not your dog) feel free to add a few tsp of cocoa powder to the batter before baking. What I usually do is reserve a plain portion for Luna, and then with the left over batter, add about 2 tsp of cocoa powder, mix until incorporated, and bake all together. They will look like the picture below. As you can see, some cookies are chocolate for me, other cookies are just peanut butter flavour for Luna. I even shaped one into a cute little bone for her 🙂
*If you make these cookies just for YOU…

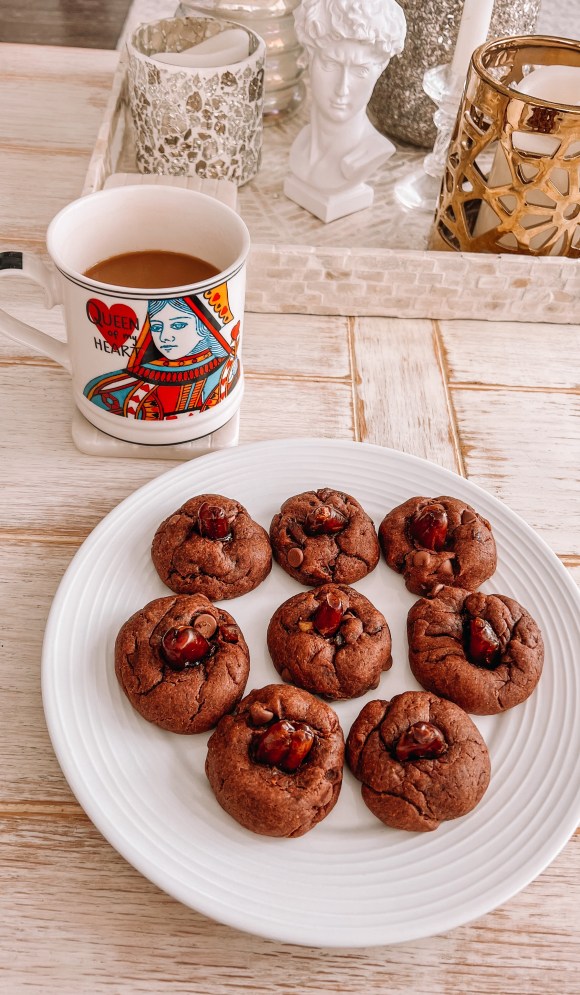
*If you are making the chocolate cookies, that are not for your dog but only for you, I added extra dates, chocolate chips, and cocoa powder, and I rolled them a bit smaller which formed 9 cookies that I baked for 10 minutes. With the addition of cocoa powder these cookies are less sticky and easier to roll by hand. These cookies are a bit more decadent, and you can follow the exact recipe that I used for the add-in ingredients on the top under “ingredients not for your dog”.
– Lisa (@ladolcelisa) & Luna (@thatlittleluna)
