
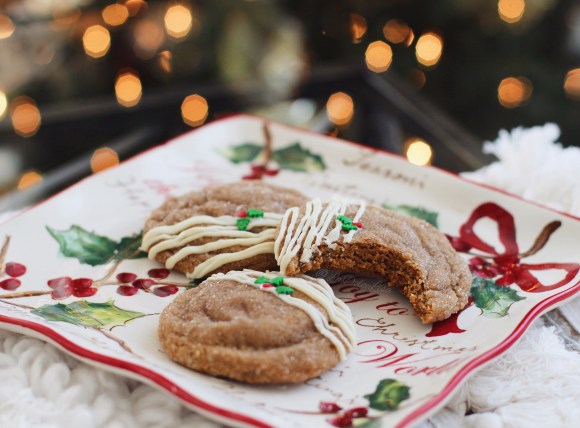
Anytime I visit a bakery and notice they carry soft Ginger Molasses Cookies, I just have to try one. This is why when creating this recipe, after a few not-good-enough attempts, I kept baking until I finally achieved the PERFECT soft and chewy, yet slightly crisp on the outside Ginger Molasses Cookies! These definitely rival the best bakeries, and I dare say, they are the best I’ve ever had. I am so happy to share this recipe with you after much playing around, I feel it is my idea of the perfect cookie! If you follow my tips and tricks, you too can bake the BEST ever Soft & Chewy Ginger Molasses cookies! This batch was literally gone in 24 hours, so my family would stand behind this recipe as well. Be sure to check out my video HERE where I show you a video tutorial on how to make these as well! Below is the written recipe, enjoy 🙂
Ingredients:
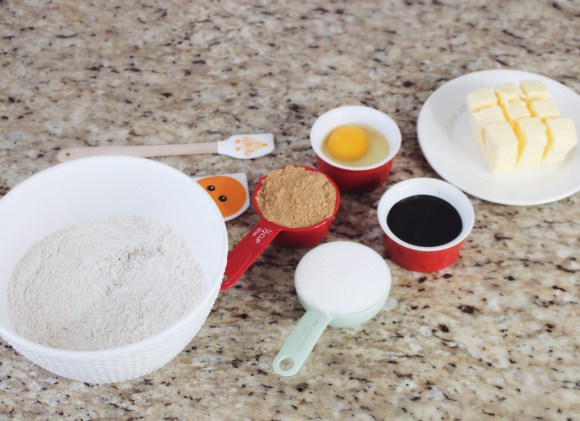
2 1/4 Cups All Purpose Flour
1 1/2 Tsp Baking Soda
2 1/2 Tsp Ginger (ground)
2 1/2 Tsp Cinnamon (ground)
1/2 Tsp All-Spice (Can substitute for ground Cloves)
1/2 Tsp Salt
~
3/4 Cup (or 1 1/2 Sticks) Soft Butter (Room Temperature, not melted)!
1/2 Cup Brown Sugar (packed)
1/2 Cup Sugar
1/4 Cup Molasses
1 Large Egg (Room Temperature)
* Extra Sugar for rolling, approx. 1/4 Cup of coarse sugar
Directions:
– Combine all the “dry” Ingredients listed first, I separated “wet” from “dry” with this ~ that way you can see clearly which is which. Give this mix a stir to incorporate and set aside. A good tip is to use fresh spices. I once made this with ginger that I had for a few months and it wasn’t as strong as freshly bought ginger, so do use fresh ingredients.
– Now we work on the “wet” part. Beat butter and sugars until fluffy, about 2 to 3 minutes, on a medium speed. A good tip here is to use room temperature butter. Do not microwave this butter as some parts will melt, and some will be too cold. Give it about an hour or 2 to get to room temperature.
– Then add the molasses, and mix to incorporate for about 30 seconds on medium speed. I like to add the molasses before the eggs, that way the mix doesn’t curdle.
– Then add the egg and mix on medium for another minute or so. Again, make sure your egg is at room temperature.
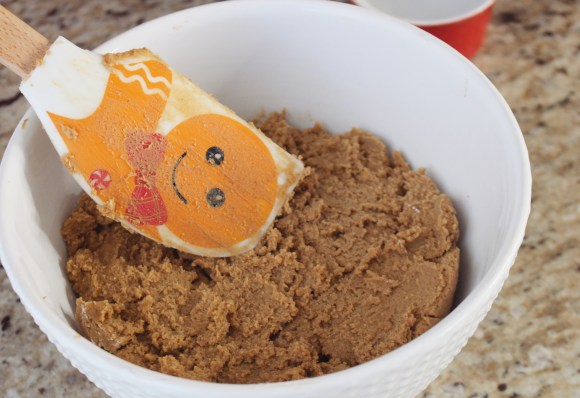
– Next we are going to incorporate the “dry” flour mix into this “wet” mix. I add about 1/3 of the flour in at a time, giving it a 30 second or so mix on a low/medium speed. During these mixing stages, if you are using a stand mixer like I do, you will be occasionally pausing to scrape down the sides of the bowl, and insure everything is nicely mixed.
– Once all the flour is incorporated, stop mixing, and you are finished with the cookie batter. Be sure not to over mix during this flour stage.
– This batter is best cold, so we need to refrigerate for 1 hour in the fridge. If you are pinched for time, even 45 minutes is OK, but 1 hour is best. During this time, the flavours intensify, and this prevents the cookies from becoming overly flat when baking.

Baking Directions:
-After the hour in the fridge, we can now roll, coat and bake these cookies.
– I use an ice cream scooper to make sure they are all around the same size more or less, for even baking. Scoop out and roll the dough with your hand – we are looking for a round ball of batter of about 2 inches. Then roll the balls in sugar, I like to use coarse sugar, as it adds a nice crunch. Then place the round dough onto a baking pan, fitted with parchment paper, and lightly flatten the tops. You can see me do this in my baking VIDEO HERE!
– Be sure to space the cookies out, so they have room to spread out while baking. I usually leave a cookies width in between, so around 2 inches in this case between each cookie.
– This batch will make 14 to 18 cookies, depending on how large you roll these out (or how much batter you eat, in my case – I made 16).
– Now is the important part. Bake these at 350 Degrees F, for 8 to 9 minutes MAX! This is crucial to getting the perfect cookie that is slightly crisp on the outside, and soft and chewy on the inside. They might not look done at the 8 minute mark, but trust me, much like when baking a chocolate chip cookie, under-baking is always best!
– I like to leave the cookies in the pan, for about 5 minutes, you can then remove and eat – they are AMAZING warm! If you are decorating, keep them on the parchment paper, as this makes decorating so much easier!

Decorating:
-This step is of course optional, but I find it adds such a sweet festive feel for these cookies; perfect for Christmas/ The Holiday season (my favourite time of year).
– Melt some white chocolate, I used bakers white chocolate which is best for melting. It comes in a 6 oz box, so I used 3 oz, which was even too much. Luckily my boyfriend loves white chocolate, so I coated a few cookies in a LOT of white chocolate to not be wasteful.
– The easiest way to melt this chocolate is in the microwave. Chop up the chocolate, add it to a microwave safe bowl, and melt for 30 seconds. Give this mix a stir, and microwave it for another 20 seconds. At this stage your chocolate will be nearly entirely melted. Give this a good mix. If you find a few lumps, another 10 seconds, and then you are done!
– Transfer this white chocolate to a piping bag, or my favourite – a zip-lock bag! Twist the top of the bag so the chocolate doesn’t come out, and then cut a little tip off the bag. A small tip is best, as it looks the most elegant.
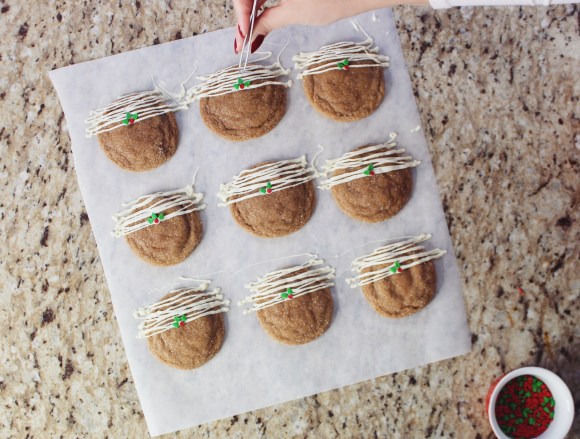
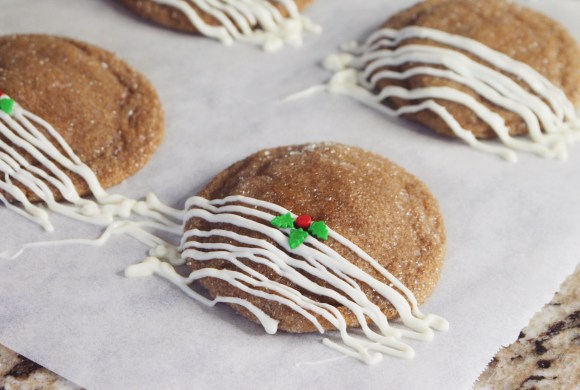
– Then, with the cookies still on that parchment paper, drizzle some white chocolate onto half of the cookie, even less than half. I find this looks the most elegant. You can see me do this HERE!
– You can be done at this stage, but I happened to find really festive sprinkles. They were red dots and Christmas Trees, and I figured if placed just right, this could look like little Christmas Holly.
– Ta da! You are done. Let the chocolate set before plating, or else the chocolate will smear. I like to let these sit for at least 30 minutes in a fresh place.
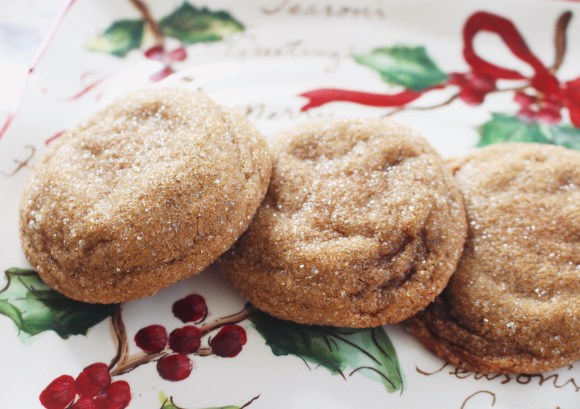
Like I said earlier, of course decorating is optional as these Ginger Molasses cookies are delicious as is! In fact, I usually leave some plain as well. I just figured tis-the-season for being extra festive, however, both ways are delicious! These cookies are perfectly chubby, slightly crinkled, and a little crisp on the outside… The inside is soft and chewy!! YUM! Below is a picture of them “naked”!
Thanks so much for hopefully watching that video and also following along here on this blog post. I really hope you do give these a try, especially if you are a lover of these spiced Ginger Molasses cookies already. I believe these are the best I’ve ever had, and I hope you let me know how these turned out for you. Merry Christmas and Happy Holidays if you are celebrating, or else HAPPY BAKING! 🙂 Don’t forget to check out the video tutorial HERE!
– Lisa (@ladolcelisa) – on Instagram & YouTube 🙂


4 replies on “The BEST Soft & Chewy Ginger Molasses Cookies | Christmas Recipe”
I absolutely adore these cookies!
Thanks so much! My family and I do as well ☺️
I cant wait to make these!! They look AMAZINGLY delicious
❤️☺️