
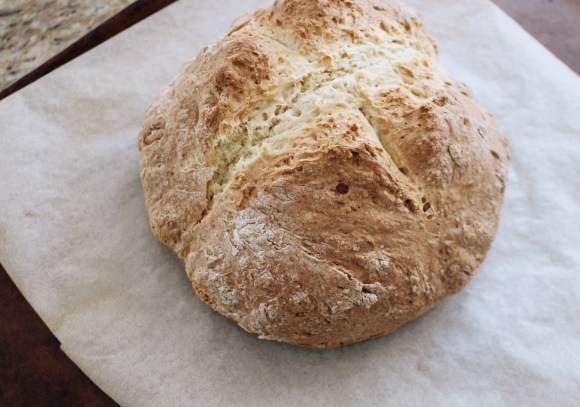
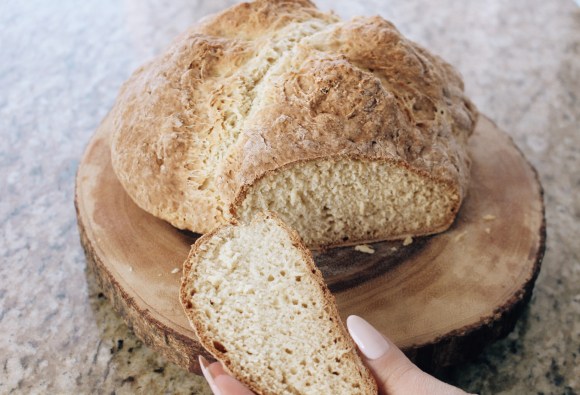
Hi everyone, I hope we are all staying home and staying safe during this difficult time. I for one have been cooking and baking a lot more than usual, which is the silver lining in this. Since there is difficulty in accessing certain ingredients, I remembered this great yeast-free bread recipe I would make all the time when I wanted a quick and easy way to have fresh bread at home, with few ingredients on hand! I figured now is the perfect time to finally share this recipe with you all, considering going grocery shopping has now become a little anxiety inducing. I know that I usually always have these ingredients at home, so hopefully you do as well, and you can give this bread recipe a try! It is essentially an Irish Soda Bread, that looks like a rustic loaf of yeast bread. It has a nice firm crust, and soft inside. It literally takes minutes to put together, a short bake and cool off time, and in a little over an hour total, you will be eating fresh bread at home. The best part is, there are no special tools, or equipment required, and the ingredient list is so short. I also show you how I make this on my YouTube channel, you can watch me HERE! So, without further ado, here is my recipe for no-yeast bread that comes together in minutes!
Ingredients:
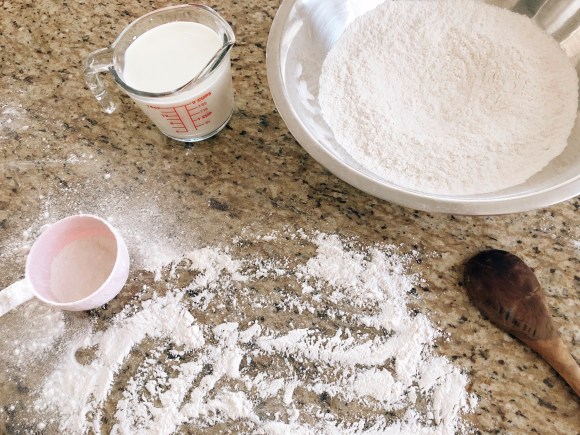
2 Cups Milk*
2 Tbsp acid of either Lemon Juice, or White Vinegar*
4 Cups All-Purpose Flour*
1 + 1/2 Tsp (or 1/2 Tbsp) Salt
1 + 1/2 Tsp (or 1/2 Tbsp) Baking Soda
*For this recipe the milk can be substituted for butter milk, which is a classic staple of Soda Bread, however, I rarely have butter milk at home, so this is why we add the milk + the acid of either lemon juice or white vinegar. If you have both, I often add 1 tbsp of each. When it comes to the milk, the fattier the better. I used 3% milk, because it is all I could find at the store, which ended up being perfect. If you only have skim or 1% on hand, if you can, I would recommend using 1 + 1/2 Cups of the milk + 1/2 Cup of cream, such as 5% or 10%, just to make your milk more fatty, but this is not necessary. If you do have butter milk, there is no need to add the acid, so just use the 2 cups of butter milk.
*Another note is about the flour, I used all-purpose, but feel free to use wheat, or bread flour, or a combination. I know flour can also be hard to find at the store, so feel free to use what you have on hand.
*You will also need extra flour to sprinkle on the surface to knead this bread. It is essentially a no-knead recipe, so aim for only 5 to 10 kneads; this is mainly to form the bread into a round loaf.
* Lastly, the milk can also be substituted with unsweetened almond milk to keep this recipe dairy-free or even vegan!
Recipe In Grams:
16oz (or 473ml) Milk
26g Lemon Juice or Vinegar*
600g All-Purpose Flour*
10g Salt
8g Baking Soda
*I sometimes use a combination of both lemon juice and vinegar, if you would like to do the same you would need 13g of lemon juice, and 13g of vinegar.
*1 cup of flour equals 150g for me, but you can have 10 g more or less, it is a forgiving recipe. Also feel free to substitute all purpose for whole wheat, etc…
Instructions:
The first thing to do here, because this bread comes together in minutes, is to pre-heat your oven to 425F.
Next, you need to prepare the milk, we are essentially making our own butter milk, so add 2 cups of milk to a bowl, and add 2 Tbsp of either lemon juice, or white vinegar (or 1 Tbsp of each) to the cold milk, and give it a stir. Leave this aside for at least 15 minutes at room temperature to incorporate.
(I like to also prepare a baking sheet with parchment paper, ready to go when I need it, and a clean work surface to lightly knead the dough on with extra flour on the side to sprinkle on the dough/surface area).
Once the oven is set to 425F we can then begin to make this bread. It comes together in minutes and needs to go into the oven immediately, so I never start making this bread until the oven is set.
In a large bowl, add 4 Cups of flour, and to that add the salt and baking soda, and give this a whisk to incorporate.
Now we can add the acidic milk all at once to the large flour mixture, and stir this with a wooden spoon until it starts to form a ball and becomes difficult to stir.
Take this wet dough, and place onto the floured clean surface, and with clean hands begin to lightly knead and form this dough. The less kneading the better, so I usually knead this in about 5 to 10 folds, no more. As I knead I am also forming this into a round ball/loaf.
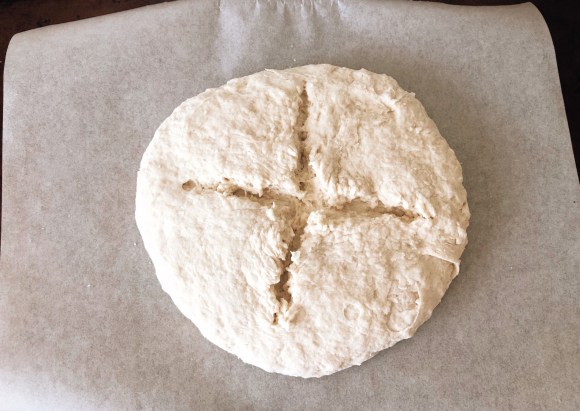
Once your disk shaped dough is formed, pat it down, we want 1 + 1/2 to 2 inches in height, and the dough should be about 8 inches or so in diameter. This is a very forgiving and rustic bread, so don’t worry too much.
Next, place the dough onto the baking sheet lined with parchment paper, and take a serrated knife and cut a cross or X into the top of this dough. You want to go no more than a 1/4 to 1/2 an inch thick into the dough.
Quickly place this into the oven at 425F (since the minute the milk combined with the baking soda, this bread already began to activate). You will need to bake this now. The first bake is 425F for 20 minutes, then 350 for another 20 minutes, which is a 40 minute total bake time with 2 temperatures. *Do not take the bread out of the oven, simply cancel the bake time and set it to 350F after the first 20 minutes, and leave it in there for another 20 minutes to cook. I like this double bake time because the hot oven will have your bread form a nice crust, and then the lower temperature will allow your bread to fully cook and become soft inside and crusty outside.
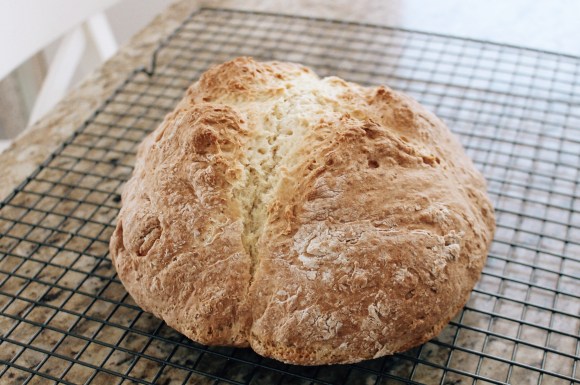
Once your bread has finished baking (after the 40 minutes total baking time), take the loaf and set it onto a wire rack to cool for 25 to 30 minutes before cutting into it. This rest time is important, so do not cut into it until you wait at least the 25 minutes. If you do not have a wire rack you can let this cool on an elevated pizza pan, or anything of your choice.
After the wait time, we can then slice and eat this delicious loaf! I love this bread because it is SO easy to make, and once you give this a try, I know you will be tempted to make this again and again. Bread making is so satisfying, I have literally made this 3 times this week, everyone loves it!
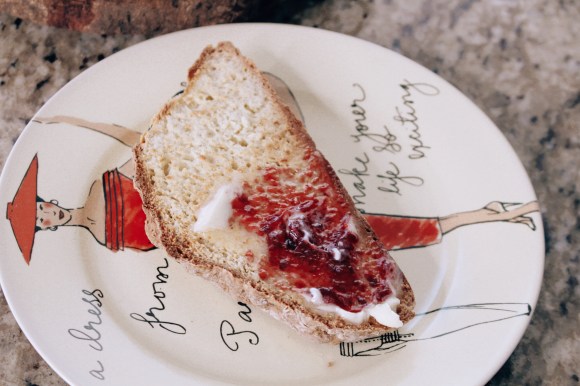
I love this plain style rustic loaf because it is perfect to eat sweet or savoury. If you would like to make a savoury loaf, you can add some of your favourite herbs and spices to the flour. If you would like a sweet loaf, you can add a few Tbsp of sugar to the flour, as well as raisins or other dried fruits. The options are endless!
You can store this bread in a bread box like I do, or you can wrap it in a cloth and keep it at room temperature or in the refrigerator.
You can watch me make this video in my YouTube channel HERE.
Thanks for using this recipe, please comment down below and let me know what you think 🙂 Feel free to also tag me on Instagram so that I can see your creations 🙂

*I love this bread toasted, or even as a grilled panino.
I hope you enjoy 🙂
Love: Lisa (@ladolcelisa)

6 replies on “Easy No-Yeast Bread Recipe”
This is the best and easiest bread recipe I have ever tried and I tried plenty. My family loved this and I know because it was gone in a day. I am making another one tonight…. thank you so much for this recipe dear.
Thanks so much for this kind comment! It is also a family favourite in my house 🤗💗
Hi Lisa,
Love your channel and all your recipes.
Can we use apple cider vinegar instead?
Hi! Thank you so much 😊 Yes, you definitely can use apple cider vinegar!
Hi, can you use Almond milk and vinegar instead of regular milk?
Hi! A fellow follower of mine used almond milk and reported that it came out great! So yes, you can 🙂