
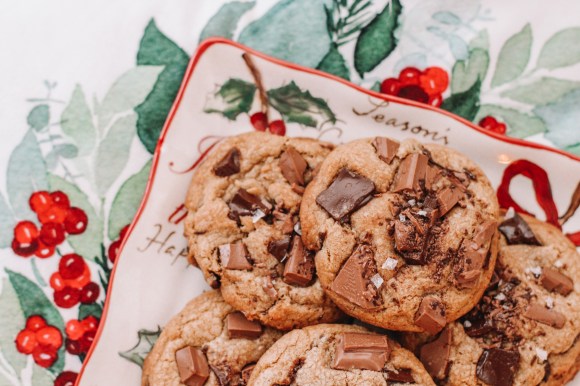
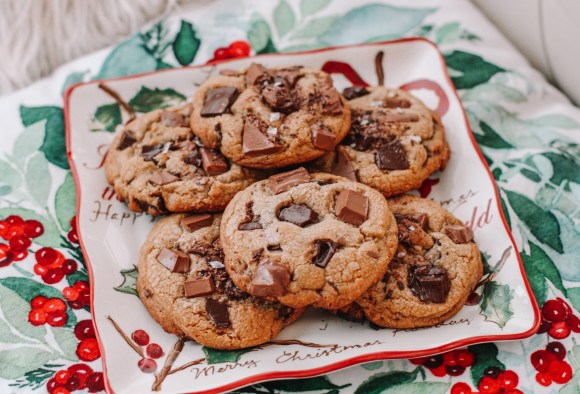
Ok, this post has been a LONG time coming. One of the first things I learned to make from scratch at home were chocolate chip cookies. I was so proud of myself, and couldn’t believe homemade cookies were so easy to make. This recipe has come quite a way since then, as I’ve had YEARS to experiment. I finally have what I believe is the perfect chocolate “chip” cookie recipe. I have played around with the chocolate in these cookies, the butter, the cooking time, adding and taking away ingredients, you name it. I have constantly tweaked and adapted this recipe to become what it is today, and these are seriously the BEST chocolate chip cookies out there. They are easy enough to make, with only a few ‘out of the ordinary’ steps along the way. Once you make these, I GUARANTEE these will be your GO-TO chocolate chip cookie. They are slightly crisp on the outside, and chewy, gooey on the inside. They are best eaten warm, however they maintain a nice softness on the inside after a day or so later (though these never last that long – I have to hide cookies in order to have one for breakfast the next day). You can also find me HERE making these cookies if you need a visual. So, without further ado, let’s get right to the recipe, I am very happy to share this treasured cookie recipe with all of you…
Chocolate Chip Cookie Ingredients:
1 Cup Butter *225g
1/2 Cup White Sugar 100g
1 Cup Brown Sugar 221g
2 Eggs (large) 110g
1 Tbsp Vanilla Extract 12g
2 + 1/4 Cup Flour (All-Purpose) 325g
1/4 Cup Corn Starch 32g
1 Tsp Baking Soda 5g
1 Tsp Salt 6g
*Chocolate – Chips can be used, but I prefer chunks (1 cup + 1/3 +more for top) About 225g for the batter, + extra on top!
*The butter I use here is going to be browned butter. What this means is that I take the cup of butter and melt it in a saucepan, continue to stir as the butter slightly browns. The nutty scent and flavour give these cookies a complexity and flavour that is so delicious and warm. It seems intimidating to do, but I assure you, it could not be easier! If you really don’t want to, you can skip this step and use room temperature butter that you slightly warm up for 10 to 20 seconds or so in the microwave.
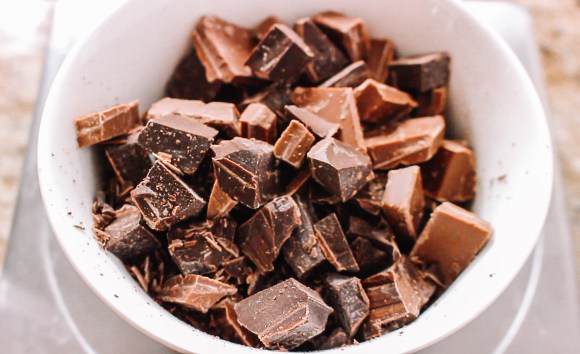
*The chocolate I like to use, when I can, is bricks or bars of chocolate that I chop up myself to resemble large and smaller chunks. I love the way some of the chocolate breaks up into tiny flecks that colour this dough. I cannot get that from chocolate chips alone, but if you do not have chocolate bars to cut up, feel free to use chocolate chips. I like to use a combination of dark/semi-sweet chocolate and milk chocolate (a bit more milk chocolate as that is my preference, but feel free to use what you prefer).
Chocolate Chip Cookie Instructions:
First, we will need to brown this butter, because I like to use this butter once it has cooled again and slightly solidified. It should be a softy to melty consistency when we use it, but we do not want to use it while it is hot and melted. I like to do this an hour or 2 before I make these cookies.
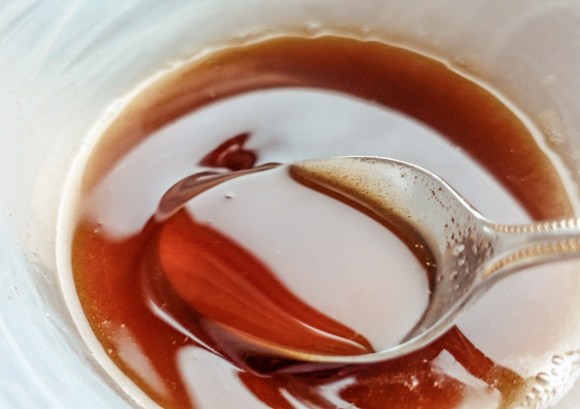
On a medium to low heat, slowly melt the butter in a medium sauce pan. The butter will foam, and those white bubbles will turn brown and sink to the bottom of the pan. It is important to constantly stir at this point because we don’t want to burn these bits, just toast them. It can go from nothing happening to burnt very quickly, so keep an eye on this butter. We are concentrating the butter flavour because the water is cooking out of the butter, this creates a nutty flavour and aroma. Once this butter has browned, it should be a golden slightly browned amber colour, you will remove it from the heat, and transfer it to a glass or metal bowl to cool. If you have some overly brown bits, simply leave them in the pan, they sink right to the bottom, so they are easy to leave out.
I like to cool this at room temperature and then transfer this to the fridge to almost solidify. I occasionally go into the fridge and stir the butter a bit. We are almost looking for a creamy consistency of half solid, half melty. As long as this butter is not hot and melty we are good to go! I usually leave this at room temperature for 30 minutes to an hour and then in the fridge for about 2 hours, then mix to incorporate it to be a nice creamy consistency.
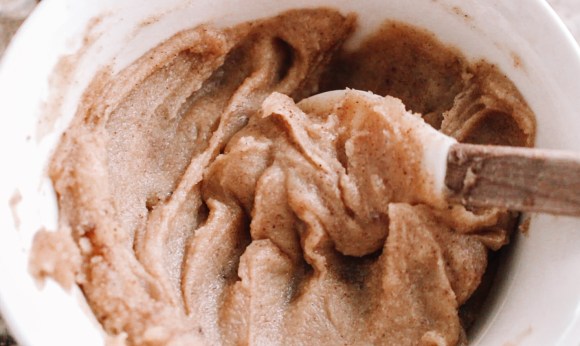
Once the brown butter is ready, we can then add it to a large bowl (of a stand mixer), and whip it with the sugar until nicely combined.
Next add the eggs, and vanilla extract and continue to whip until fluffy.
In a separate bowl, add the dry ingredients of flour, corn starch, baking soda, and salt, and mix to combine.
Then add the dry ingredients to the butter, sugar and egg mix, about 1/3 at a time until just combined. Try not to over mix, but be sure everything is combined. You will likely need to scrape the sides of the bowl down during certain stages, so feel free to do so now, as well.
Finally we can add the chocolate chunks. If you do not have, like I said above, feel free to add chocolate chips. Regardless of the chocolate used I always recommend using good quality chocolate and a mix of both dark and milk chocolate. The flavours of both really compliment these cookies, but again, use what you prefer.
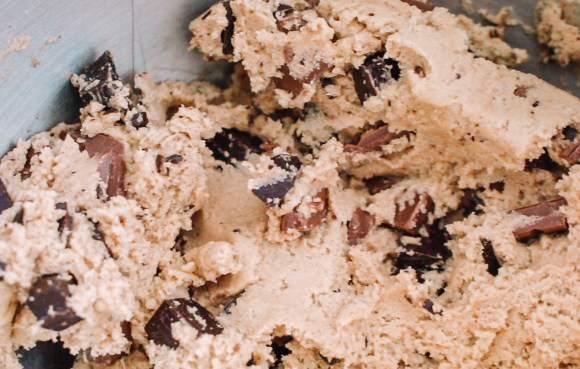
We cannot bake these cookies just yet, so please place this cookie dough into a bowl (or keep it in the same bowl), cover with plastic wrap, and refrigerate this dough for 1 hour. The 1 hour really makes a difference in how these cookies hold up in the oven, they really keep their chunky shape, which we want, and the dough briefly caramelizes during this time in the fridge, so do not skip this crucial step (I know this is hard, but you can always sneak some cookie dough during the wait, if you’re like me and can’t wait – I risk it and eat some raw dough, though this can be frowned upon as unsafe, I’ve been doing it for years)!
At the 40 minute mark that these cookies have been in the fridge I pre-heat my oven to 400F Degrees, because my oven takes at least 20 minutes to get to this point!
After the hour wait, and with your oven hopefully set, we can begin to scoop and bake these cookies.
400F for 10 to 11 minutes is all these cookies take!
Scooping and Baking Instructions:
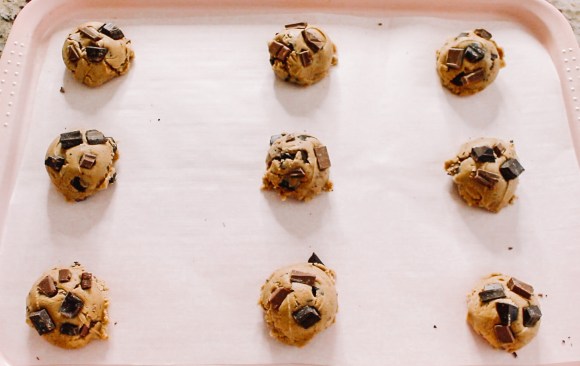
Scoop out the chilled dough onto a parchment lined cookie sheet. I LOVE to use this scooper, a little over flowed with cookie dough to make quite large chunky cookies. You can find this scoop on amazon and I LOVE it because it is the only scoop able to hold up to this firm dough. If you are Canadian click HERE, American click HERE for the link, if you are from elsewhere simply search for this scoop, it has quickly become my favourite kitchen tool. If you do not have this scoop, be sure to have your cookies around 80G like mine, so the 1/4 cup could be a great way to scoop these out as well.
I keep the dough as this round mound and do not flatten it out. Once I have the dough spaced out nicely (you can watch me make these cookies in this video HERE), I then take some extra chunks (or chips), and place a few on top. This is not necessary, but it makes your cookies look so lovely, and is quite a nice trick to really highlight the beauty of the chocolate in these cookies. You can additionally add flaked salt, I love to do this as I really enjoy sweet and salty, but this is optional.

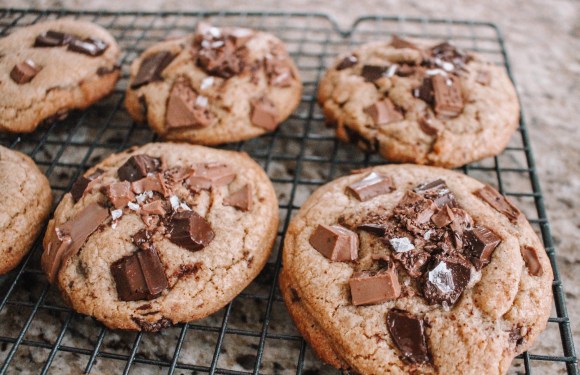
Bake for only 10 to 11 minutes, or until your cookies are nicely browned on top. Do NOT over bake these. They cool down perfectly and really need no time at all. They should be large cookies, so if you make these smaller, you will definitely need to bake these for less time, Typically cookies are baked at 350F but the 400F temperature is what keeps these cookies crisp outside and gooey inside.
Once these cookies come out of the oven, I let them cool on the pan for about 5 minutes, and then I quickly dive into these warm and gooey cookies. If you try to eat them right away they will fall apart, so please be patient and let these cool for at least 5 minutes (I know, I’m a bit annoying and particular with this cookie recipe, but trust me on this).
I am so happy to finally share this recipe with all of you. This recipe has been highly requested, and I didn’t want to share it until I had everything properly measured and written down. It is of course not too different from any other chocolate chip cookie recipe, with only a few extra tweaks here and there, this truly takes these classic cookies to another level.
Thanks so much for trying my recipe 🙂 I hope you love it as much as I do!
Love, Lisa (@ladolcelisa)
You can watch me make these cookies below:

3 replies on “The BEST Chocolate Chip (Chunk) Cookies”
Looks Yummy !
Thank you! I hope you try them:)
[…] I personally love making browned butter chocolate chip cookies, which I have the written recipe for HERE, or the video recipe for HERE (they are seriously the BEST chocolate CHUNK cookies ever, thanks to […]