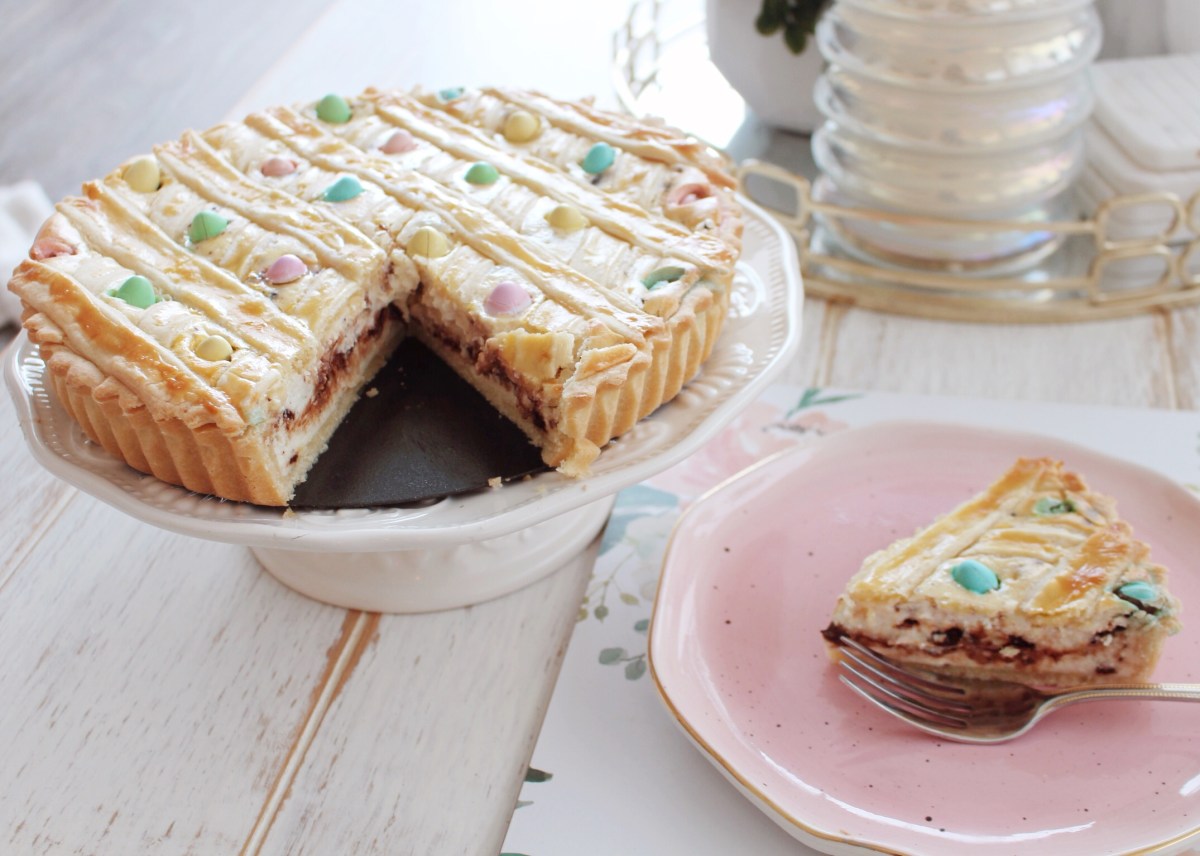
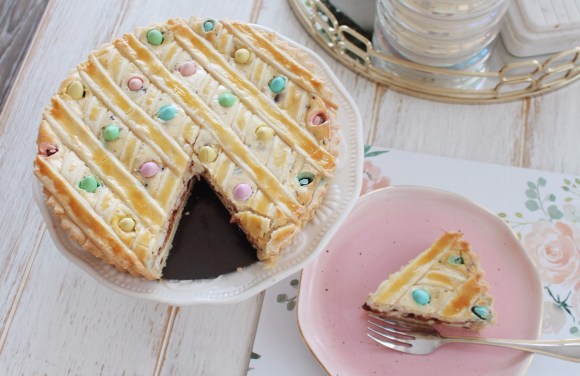
I am so excited to share this recipe with you all, and just on time for Easter too! This is a recipe I love to make (and eat) around this time of year, because it is perfect for Easter. Similar to an Easter Pastiera, this pie (or really tart) tastes like a cannoli pie – it is so delicious! To reinforce that Easter feel, I also stud the tart with festive Mini Eggs! It’s as beautiful as it is delicious, and quite east to make as well. I share my favourite tart crust recipe that is perfect for this Crostata because it is tender yet firm, and very easy to come together and roll, and re-roll as well. I also share the star – the delicious ricotta filling that I also use mascarpone in as well. It is so good, but even better, takes only minutes to whip up! I hope you love this recipe as much as I LOVE eating this Ricotta Crostata. Here is the VIDEO RECIPE, continue reading for the written recipe..
Crostata Crust Ingredients:
2 Cups All Purpose Flour
1 Cup Powdered Sugar
1/2 Tsp Salt
1 Cup (cold) Butter, cubed
2 Eggs
1 Tsp Vanilla Extract *optional
Zest of 1 small/medium Lemon (Organic) *optional
Crostata Crust Instructions:
In a food processor, add the dry ingredients (flour, sugar, salt), and pulse to combine.
Next add the cold, cubed butter, and pulse until it forms a sandy looking texture.
Then add the eggs, extract, and lemon zest to the sandy flour/butter mixture, and pulse to combine. It should form into a ball of dough after a few seconds.
Carefully remove the dough from the food processor, and place onto plastic wrap, flatten out into a disk, and refrigerate for 2 hours or over night if you prefer.
*You can omit the vanilla extract and lemon zest all together, but I love the added aroma it adds to this tart crust.
*You could also mix this by hand if you do not have a food processor, when I do this I like to grate the butter into the flour, as opposed to using cubes.
During the waiting period, I also like to make the filling, so that it can join the tart dough in the fridge. All of this can be done the night before if you prefer.
Ricotta Filling Ingredients:
600g Ricotta (strained for 1 or 2 hours if necessary)
250g Mascarpone
3 Eggs
2 Cups (can use 1+1/2 to 2 cups) Powdered Sugar
1 Tsp Vanilla Extract
1 Tsp Rum (or Rum Extract)*Optional
1/2 Cup (or 3oz) Chocolate (I used semi-sweet)
Ricotta Filling Instructions:
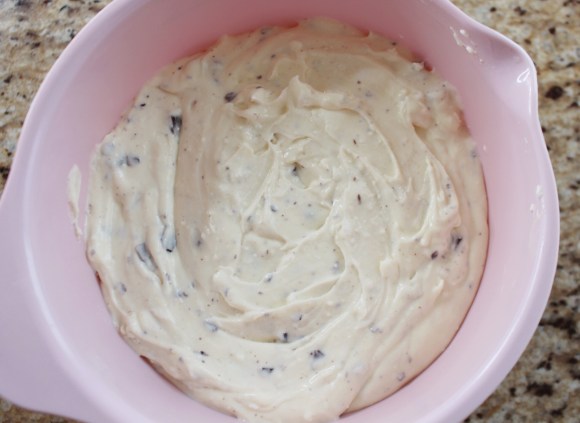
In the bowl of a stand mixer, add the ricotta and mascarpone, and whip with the paddle attachment (you could even do this by hand if needed) to combine.
Next add the eggs, one at a time, mixing to incorporate after each addition.
Then add the powdered (or icing) sugar, and extracts (you can substitute for all vanilla, or rum, etc.. if you prefer), and mix to incorporate. You may need to scrape the sides of the bowl during the mixing process with a spatula.
Finally add the chocolate. You can add chocolate chips, but I prefer to finely chop chocolate chunks and add that to the mixture. You can use milk chocolate if you prefer, I was in the mood for something a bit darker, so I added 1/2 cup of semi-sweet chocolate, and I mixed that until incorporated.
You can refrigerate this mixture until needed, or even over night.
Assembling The Crostata:
After the 2 hours, your dough should have firmed up nicely. You can now unwrap the dough, and place it onto a floured surface. Then lightly flour the top, and roll this out with a rolling pin. I usually roll this until it is large enough to fit the tart pan, or 1/4 of an inch thick.
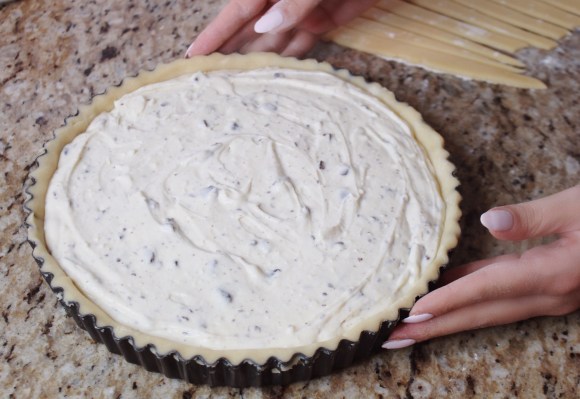
Next place the dough in the pan, making sure to press down on the sides so that it fits nicely. You can even lightly seal any cracks with your hands. This is a soft dough, so it is easy to work with. Then press it away from the crust. You can watch me do that in my video recipe HERE!
Next, using the left over dough, I roll it into a ball, and then roll it out once more, to be a bit thinner than the original crust. I then cut strips, long enough for the pan with a pizza roller/cutter. I like these strips to be about 1 inch wide.
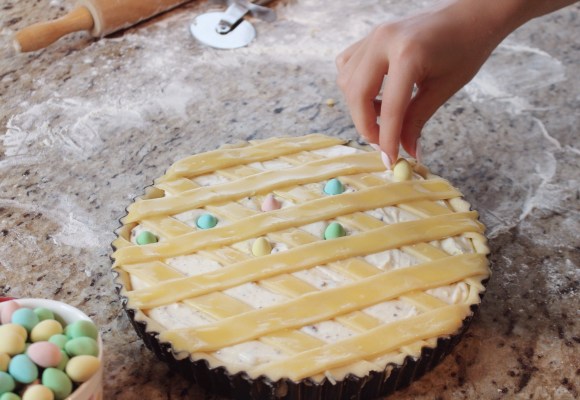
Next, we fill the pie crust with our ricotta filling, and then place those strips on top of the ricotta filling, in a square or diamond pattern. Nothing fancy here, simply lay them across each other. You may notice I did not pre-bake my pie crust, as I feel it’s not necessary, but if you prefer a crisper crust on the bottom, you can pre-bake it and cool it before filling, for 15 minutes.
Then for the finishing touch, this is of course optional, I place mini eggs into the ricotta squares. This will look colourful when baking into the pie, and give it that Easter feeling.
Now you are ready to bake! It goes in the oven at 350F Degrees for 1 hour!
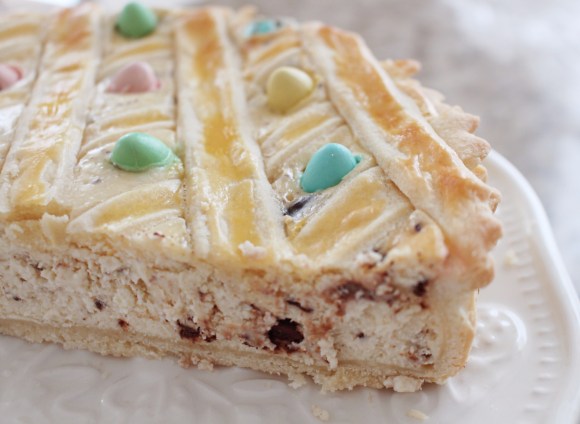
After the 1 hour, remove your pie, it should have puffed up a bit. If some of your mini eggs sank a bit too much, you can place some on top while still warm, or even place the mini eggs on after baking to ensure this doesn’t happen, but it’s still pretty this way. This needs to cool for 20 minutes or so, as it does it will sink down again, and then you can place it into the fridge until you are ready to eat it. I like to let it sit in the fridge for at least 2 to 3 hours to cool off and firm up. In this video I ate it after only 1 hour in the fridge, this is really delicious too, as it holds it’s shape, and is still a bit warm, but I like to eat this once fully cooled. Either way you slice it, it’s delicious!
Tips:
When filling the pie with the mini-eggs, they can on occasion sink into the tart a bit. If you would like your mini-eggs to look perfectly intact, you can place them into the tart AFTER it bakes, during the cooling stage.
I like to keep this pie in the fridge before eating it, but it is also delicious warm.
If you would like a crisper bottom, or find your pie/tart pan is not non-stick like mine was, you can always pre-bake your crust “blind bake” the bottom layer for 10 to 15 minutes, cool, and then fill it. You can also apply butter/oil and flour on the bottom, or parchment paper. This is a sticky dough, so it can stick if you are not using non-stick bake ware.
I often have a little extra pie crust and filling, so I always make a mini pie as well! Same cooking time applies. You can see a glimpse of it in my video, before my mom ate it! HA!
Everything can be made the night before, meaning the dough and filling, so this is a super easy recipe to have ready for Easter (or Passover)!
If you are not celebrating, this pie is the perfect treat any time of the year. You can omit the mini eggs and simply call it a “Cannoli Pie” as that is what it tastes like. You can also omit the dark chocolate for milk chocolate, and play around with zests and extracts. It is very versatile.

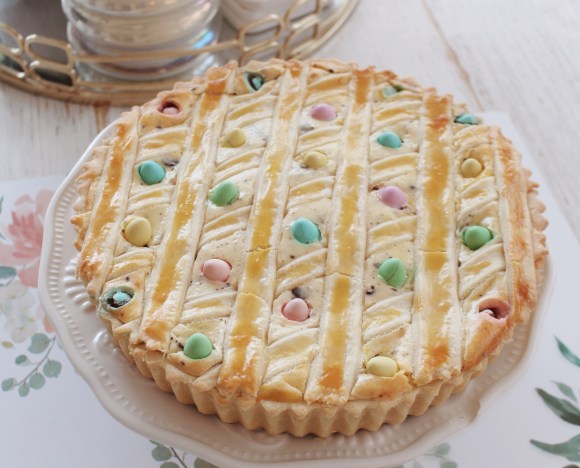
TA-DA! You are finished! Pretty easy to whip up and so rewarding! I absolutely love this Ricotta Crostata and I hope you enjoy my recipe 🙂 I love making this for Easter as it is perfect for the occasion, but you can of course make this for any time of the year. This is a real crowd pleaser, and it is the first dessert to go at any event!
Thanks so much for reading, and hopefully watching me make this recipe as well. If you enjoyed this, let me know 🙂
xo Lisa (@ladolcelisa)

2 replies on “Italian Easter Pie | Ricotta Crostata”
Looks delicious ! What size pie dish do you use in this recipe?
Hi, I use a 9 Inch pie dish. It is very delicious, and requested every year. I just made it again for Easter. Enjoy 💜